 Jompter Docs
Install and sign in
Install Jompter Remote on iPhone through the TestFlight open beta, get through onboarding, and sign in to the account your Mac uses.
Install
Jompter Remote is in open beta, distributed through TestFlight rather than the App Store. iPhone only — iPad is not supported.
- Install Apple's free TestFlight app from the App Store.
- Open the Jompter Remote beta on your iPhone and tap Accept.
- Install Jompter Remote from TestFlight.
A TestFlight build expires 90 days after it is uploaded. When it does, open TestFlight and install the current build — you keep your account and your paired Macs.
Onboarding
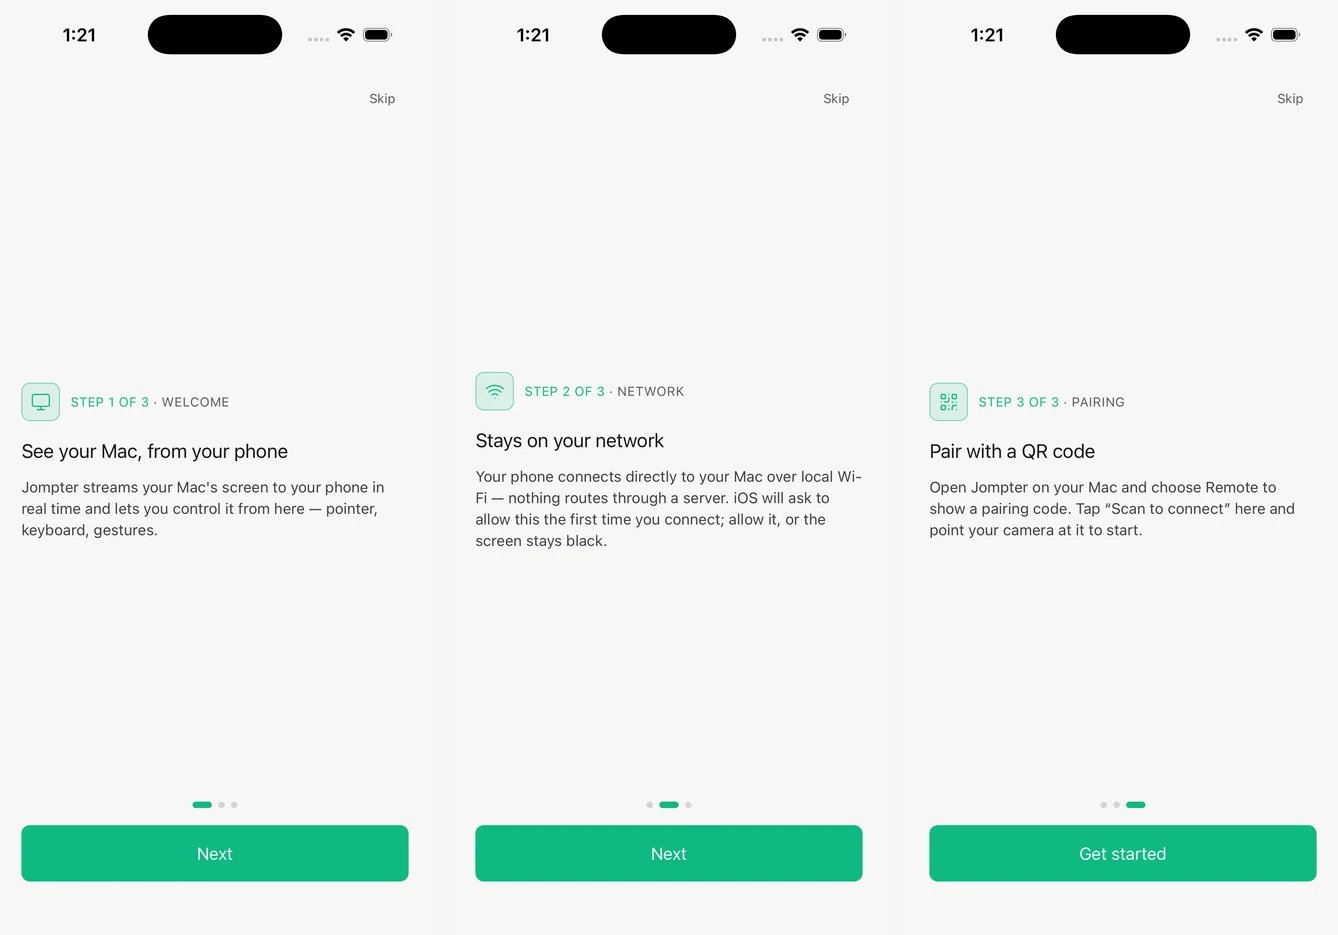
Three screens, shown once:
- See your Mac, from your phone — what the app does.
- Stays on your network — why iOS is about to ask for Local Network access, and what refusing it costs you.
- Pair with a QR code — how connecting works.
Sign in
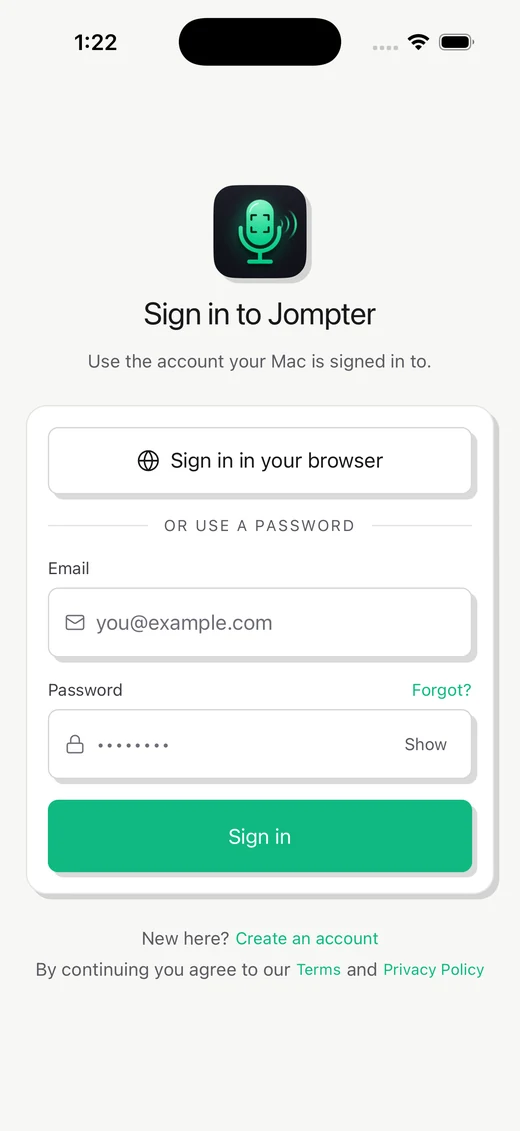
Use the account your Mac is signed in to. Two ways:
- Sign in in your browser — the app opens jompter.com, you authenticate there, and it hands you back. Nothing to type on a phone keyboard.
- Email and password, filled in on the screen itself.
Your session is kept in the iPhone's Keychain, so you stay signed in between launches.
Create an account and Forgot? both open jompter.com in an in-app browser.
The app does not sell anything. Plans and payment live on jompter.com/pricing — sign up or subscribe there, then sign in here.
Permissions iOS will ask for
| Permission | When | Needed for |
|---|---|---|
| Local Network | First connection attempt | The video stream. Without it you get a black screen. |
| Camera | First time you open Scan | Reading the QR code on your Mac |
| Microphone | First time you use Voice | Dictating into your Mac |
If you refused one by accident, iOS Settings → Jompter Remote turns it back on.
Jompter Remote
Jompter Remote lets you see and control your Mac from your iPhone — check a long agent run, tap, type and dictate the next prompt from anywhere.
Pairing with your Mac
Pair your iPhone with your Mac in Jompter Remote: scan a single-use QR code that expires after two minutes, or type a six-digit code.