 Jompter Docs
Capture
Snip a region of the Mac's screen, then say what you want done with it.
The Capture tab of the viewer dock. This is the loop the app was built for: show the problem, describe it, send — without touching the Mac.
Snipping a region
Tap Capture, then drag a box on the streamed screen. The selection is drawn live in green as you drag.
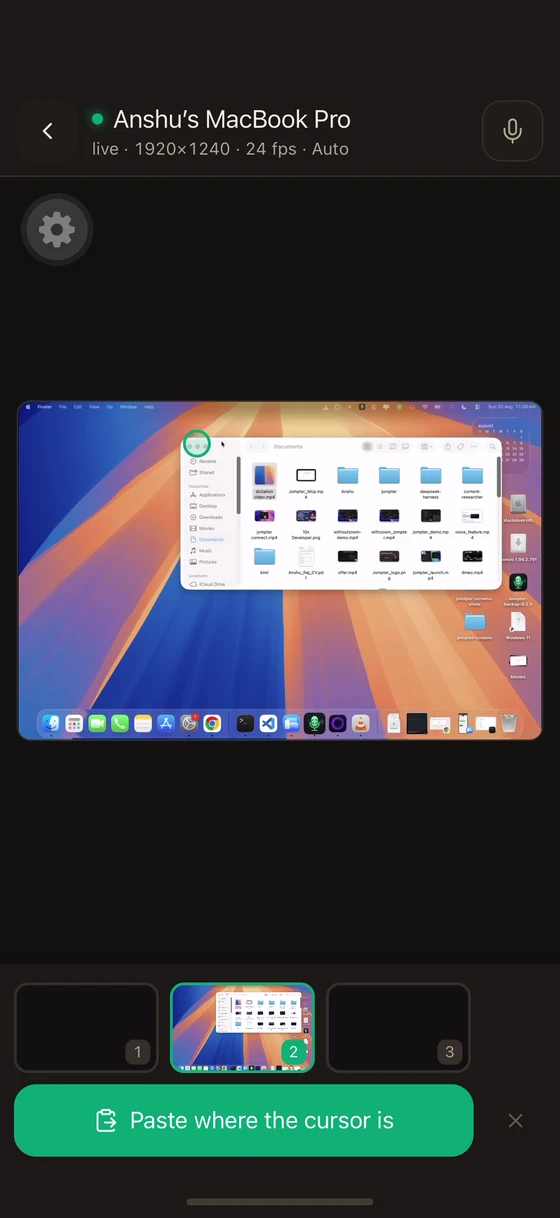
Then: say what to do with it
The snip does not just sit on a clipboard. Jompter tells you where it went —
Region captured. It pastes where your cursor already is.
— and opens a compose bar underneath:
| Control | What it does |
|---|---|
| The text box | Type your message, or tap the mic to dictate it. → |
| Press ↵ after | Sends a Return once the text lands, so an agent starts working immediately |
| Mic | Dictate instead of typing |
| Cancel | Throw the whole thing away |
| Send | Paste the message at the Mac's cursor |
So one gesture on the phone gives your assistant both the screenshot and the sentence explaining it, dropped straight into whatever has focus on the Mac.
Your captures this session
A Captures sheet lists what you have taken. They also land in the Mac's screenshots panel, so they are waiting for you there later.
Window and Full screen are shown, but greyed out. Only region snip is implemented — the buttons are there so the tab does not change shape when they land.
Two things capture will refuse
A paused screen cannot be captured. Pausing a display in the Displays tab stops it being readable, not merely streamed — the app says "That screen is paused — resume it to capture from it." Capture takes its own full-resolution frame rather than lifting one out of the video, so without this rule pausing would have stopped the picture while leaving the screen just as visible.
Captures are limited to a dozen a minute. Past that you get "Too many captures just now." Each one writes a full-resolution image to the Mac, and nothing else bounded it.