 Jompter Docs
Screenshots
Capture a region, file it into your prompt, and drag it wherever it needs to go.
Press ⌘⇧S. Jompter plays a short pop, gets out of the way, you drag a
box, and the capture is filed into the prompt you have open — or the Draft — as a thumbnail,
with an @screenshot-N reference inserted for you. The picture is also put on the clipboard,
so ⌘V pastes it anywhere; nothing is pasted for you.
The pop is deliberately not the camera shutter macOS plays for its own screenshot keys. Those save to your Desktop, where Jompter never sees them — if you hear the shutter after a region shot, you pressed the wrong shortcut.
You can also bring images in by dropping files onto the editor, pasting from the clipboard, or picking them from the panel.
The whole screen
⌘⇧F captures the entire display your pointer is on, with no box to drag — on a second monitor, it takes that one. You hear the macOS shutter this time. After that it is handled exactly like a region shot: into the open prompt or the Draft, onto the clipboard, and into the screenshots panel.
Both shortcuts can be changed in Settings → General → Shortcuts (Region screenshot and Full-screen screenshot). →
If a capture fails — you have not finished setting Jompter up, your plan has run out, or macOS refused the capture — Jompter says so in an error message instead of doing nothing. Cancelling the region with Esc is silent, as you would expect.
Screenshots while you are talking
Take a screenshot while you are dictating — holding the dictation key, recording hands-free, or with the mic button on the Prompts page — into an open prompt, and it lands between the words you were saying when you pressed the key, not after the whole transcript. (In the Draft it is added at the end.) The position comes from the moment you pressed the shortcut, not the moment you let go of the region, so dragging a box slowly does not push it later in the sentence.
Each picture gets exactly one @screenshot-N token in the text, however many times you
annotate it afterwards.
The screenshots panel
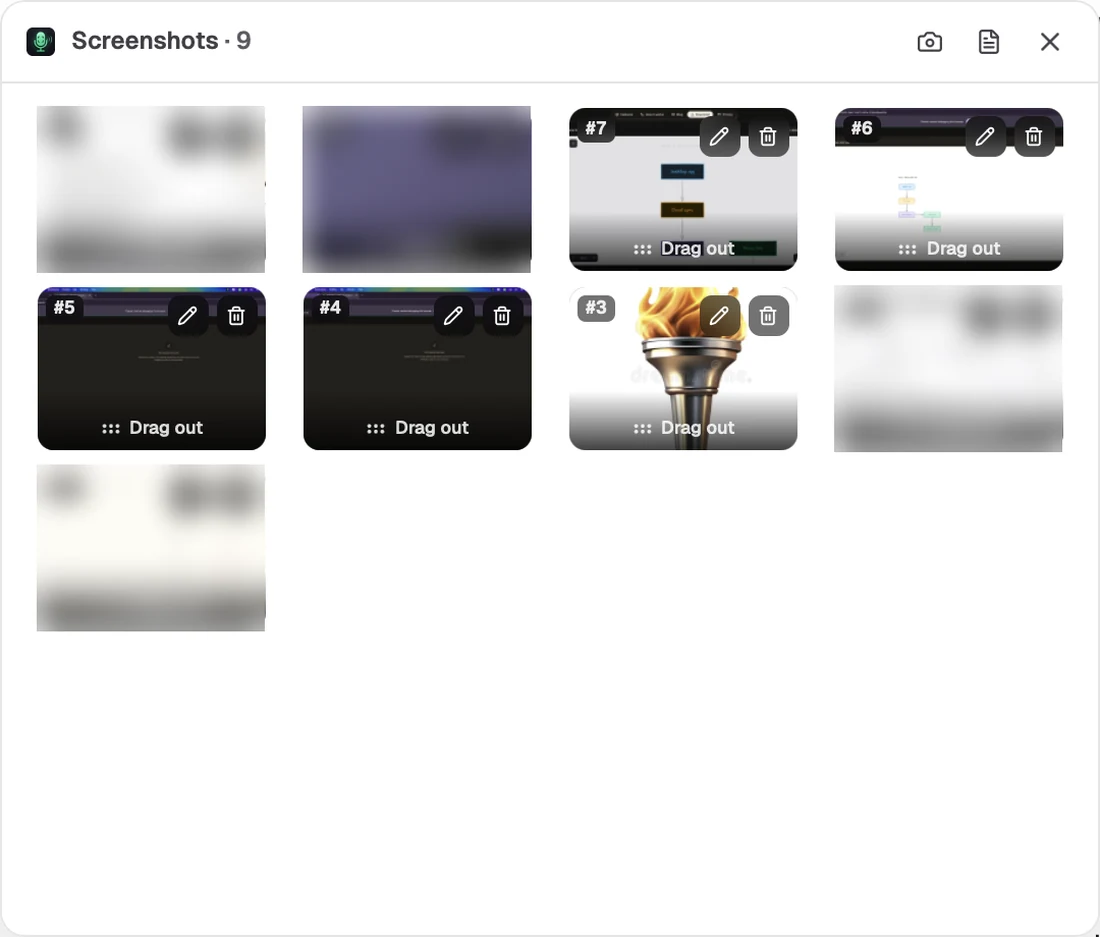
Open it from the menu bar (Screenshot panel) or the toggle in the prompt editor. It detaches into its own floating window.
| Action | How |
|---|---|
| Send a screenshot somewhere else | Drag the tile straight into Finder, Slack, or your assistant — it is a real file |
| Annotate | Annotate on the tile, or Edit on a preview. → |
| Select several | ⌘-click, or ⌘A for all |
| Delete | Backspace on the selection, or Clear all with a confirm |
| Preview | Click a tile for the lightbox |
| Capture another | Capture a screenshot (⌘⇧S), or ⌘⇧F for the whole screen |
| Hand paths to a terminal agent | Copy file paths to the clipboard |
| Send them back to the bar | Attach back to the pill |
Esc clears the selection.
Copy file paths
Agents that run in a terminal — Claude Code, Cursor's composer — can read files off disk. Copy file paths to the clipboard gives you the absolute paths of the selected screenshots so you can paste them straight into a prompt, instead of attaching images.
Disk use
Each capture writes three WebP files: the original, the annotated version and a thumbnail. There is no disk-usage view and no automatic cleanup — deleting the prompt or clearing the panel is how space comes back.