 Jompter Docs
Video Prompt
Record a bug instead of describing it: Video Prompt samples frames, drops near-duplicates and transcribes your voice into a prompt your AI agent can read.
Some bugs are faster to show than to write down. Video Prompt records a region of your screen, samples frames out of it, throws away the near-duplicates, transcribes what you said, and compiles the result into a prompt — a repro your assistant can read, rather than a video it would charge you a fortune to watch.
Recording
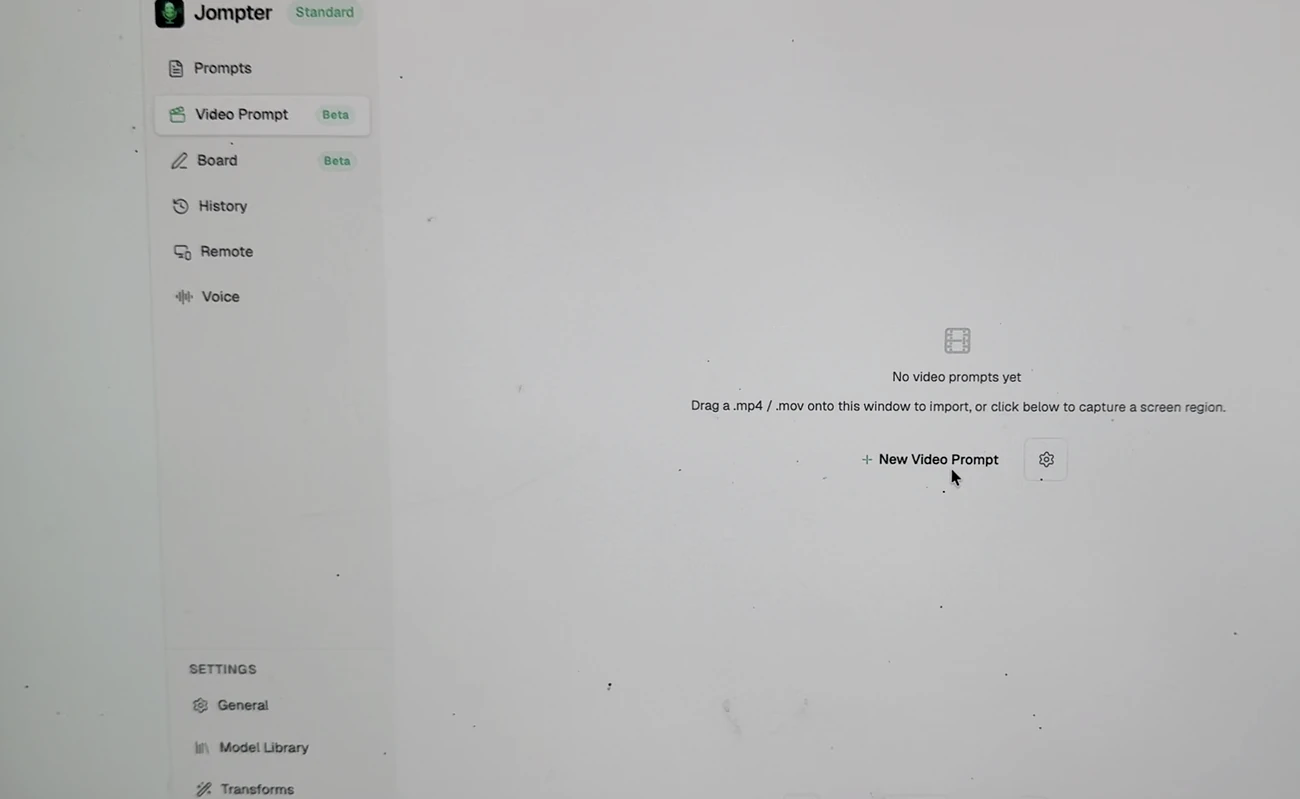
- Sidebar → Video Prompt → New Video Prompt. The button becomes Select region.
- Drag a region on screen, or press Esc to cancel.
- A floating toolbar appears: stop, pause/resume, a timer, and drawing tools (cursor, pen, rectangle, arrow, colours, undo, clear) so you can point at things while you record.
- Stop when you are done.
You can also drag an existing video onto the Jompter window to import it — the empty state says so: "Drag a .mp4 / .mov onto this window to import, or click below to capture a screen region." MKV, WebM and M4V work too, and the drop works from any page, including the prompt editor. An imported video is transcribed and its frames extracted straight away, and a message reports how many frames were kept.
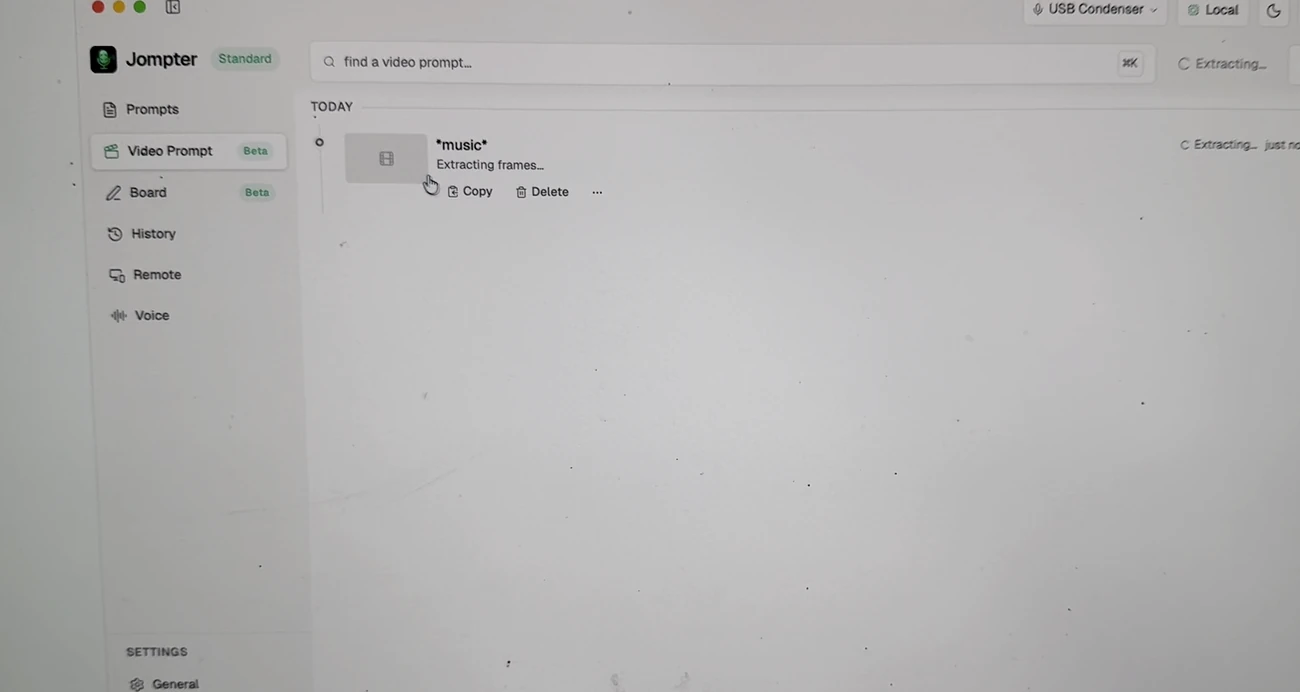

Then: three steps, in this order
A finished recording is not a prompt yet. On the session card in the list, run:
- Process — extract and de-duplicate the frames.
- Transcribe — turn the audio into text.
- Copy — get the compiled prompt.
The buttons do not enforce this order and the page does not tell you about it. Copying before processing gives you a prompt with no frames in it.
Process and Transcribe disappear from the card once they have run. Once a session has kept frames, the card also offers Combine, which opens the montage builder described below without opening the session. The More actions menu (⋯) holds Reveal, Copy path, Save video and Re-transcribe.
Tuning what gets kept
Video Prompt settings (the drawer on the list page, not the main Settings window):
| Setting | Options | Default |
|---|---|---|
| Frame density | Standard 1 fps · Detailed 2 fps · Maximum 4 fps | Standard |
| Remove near-duplicate frames | On / off | On |
| Max frames kept | 8 · 12 · 20 · 40 | 12 |
| Export folder | Any folder | ~/Documents/jompter/exports |
Fewer frames means a cheaper, more readable prompt. Turn density up only when the thing you are showing happens fast.
The detail page
Two tabs sit under the player. Timeline is the frames; Prompt is what your assistant will actually read.
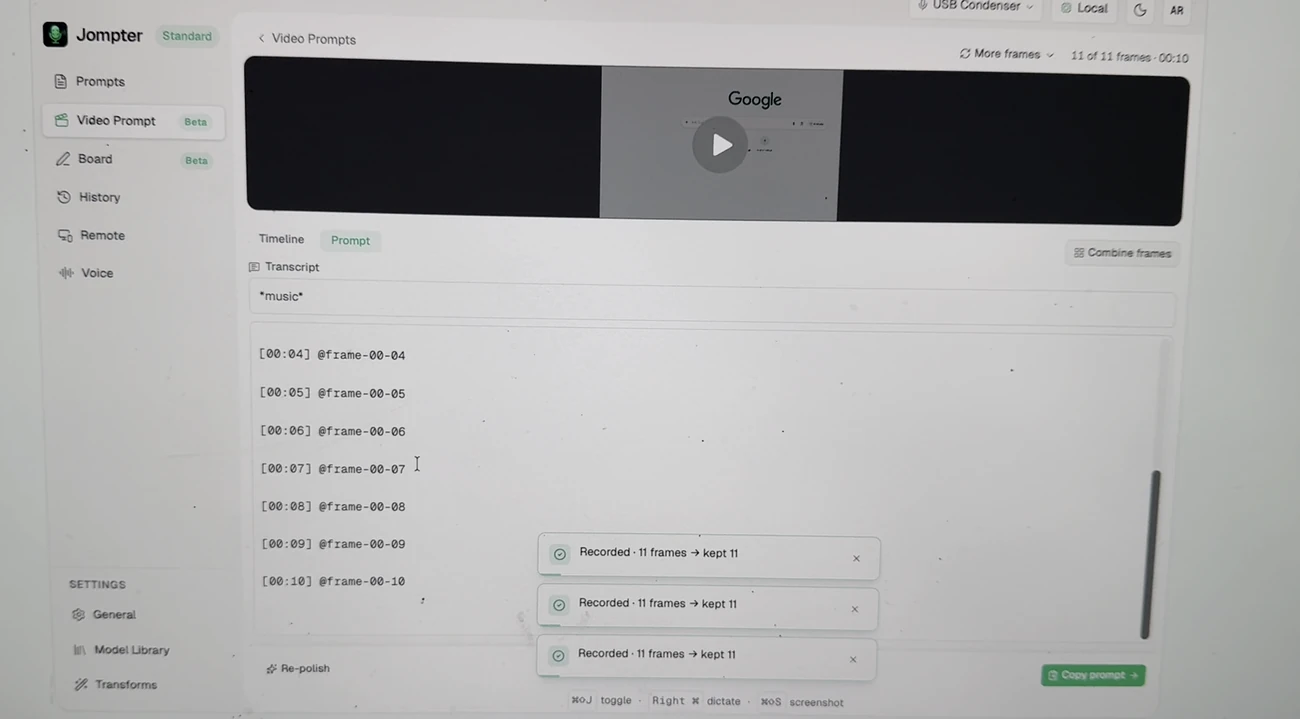
The compiled prompt opens by explaining itself to the assistant — "The user pointed at these
screenshots and described a change. Each @frame-nn-nn is the screenshot at that moment; the
quoted lines are what the user said." — and then lists [00:04] @frame-00-04 for every frame
that survived de-duplication.
- A player, with fullscreen, Copy video path, Save video, and drag-out.
- The frame timeline — enlarge a frame, drag it out, remove one, put it back.
- The transcript, editable in place.
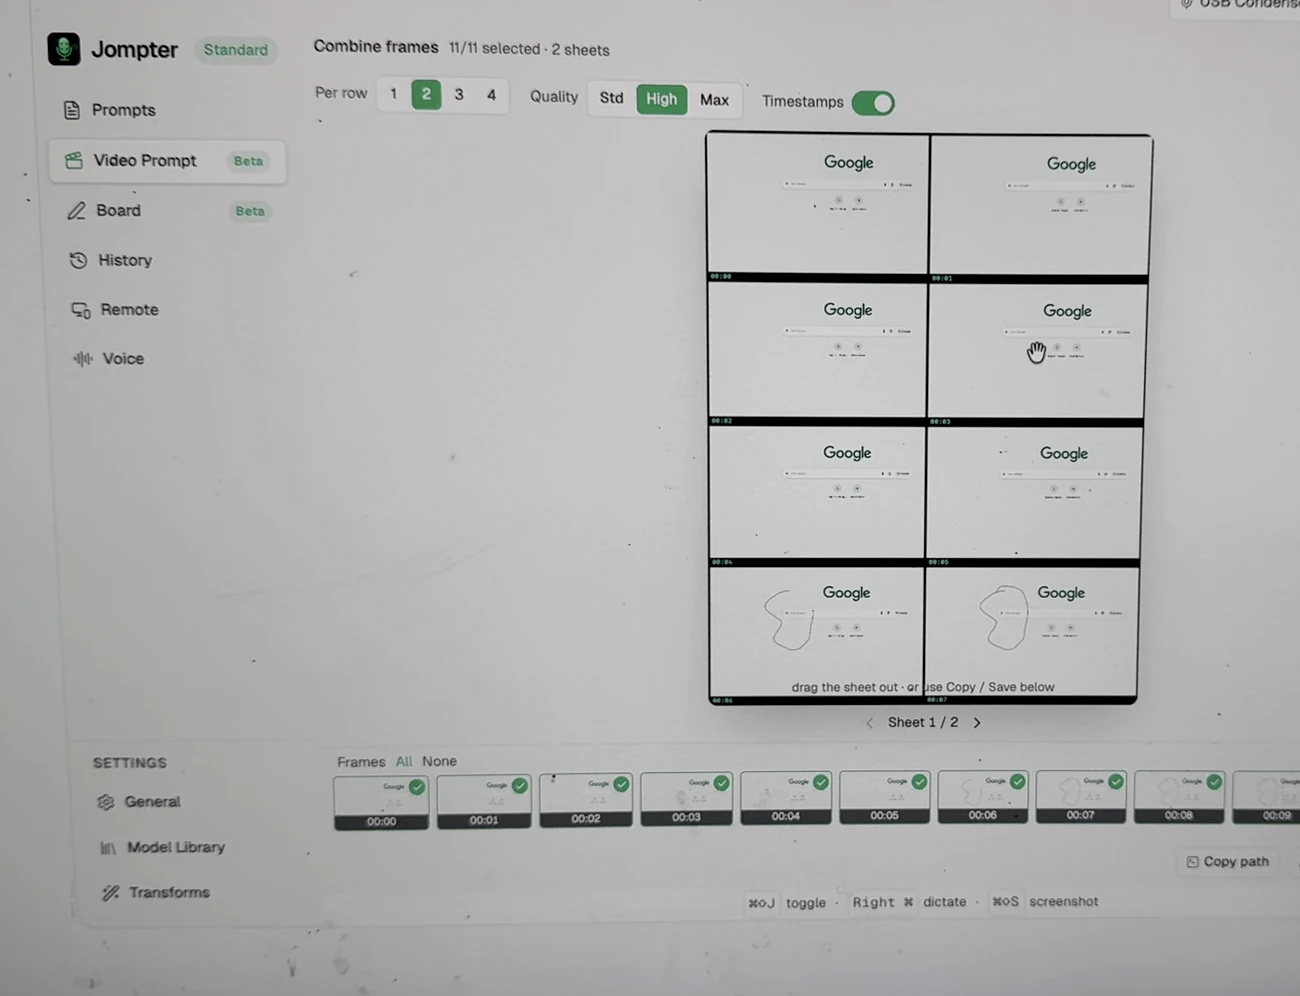
- Combine frames — a montage builder, so you can hand over one image instead of twelve.
It shows how many frames are selected and how many sheets they make ("11/11 selected · 2
sheets"), and gives you Per row 1–4, Quality Std / High / Max, and a Timestamps
toggle that burns
00:00,00:01… onto each tile. Finish with Copy path, Save, Copy images — or drag the sheet straight out to another app.
- Regenerate frames at Standard, Detailed, Maximum or All.
- Copy paths, Copy frames, Copy prompt.
Known rough edges
- Pause and resume signal the underlying recorder. If something goes wrong mid-recording you can be left with an orphaned session and no in-app way to recover it — delete it and record again.
- The settings live in the page drawer, not in Settings, so they are easy to lose track of.